Saturday, February 28, 2015

Another Mixed Media Piece using Imagine If Chipboard from Ngaere

I just cannot resist using the chipboard from Imagine If to make mixed media pieces.  It makes the whole process so easy.  The chipboard really takes the paint and sprays really well and add great texture to the projects.  So here is a Mixed Media album cover using heaps of Imagine If chipboard.


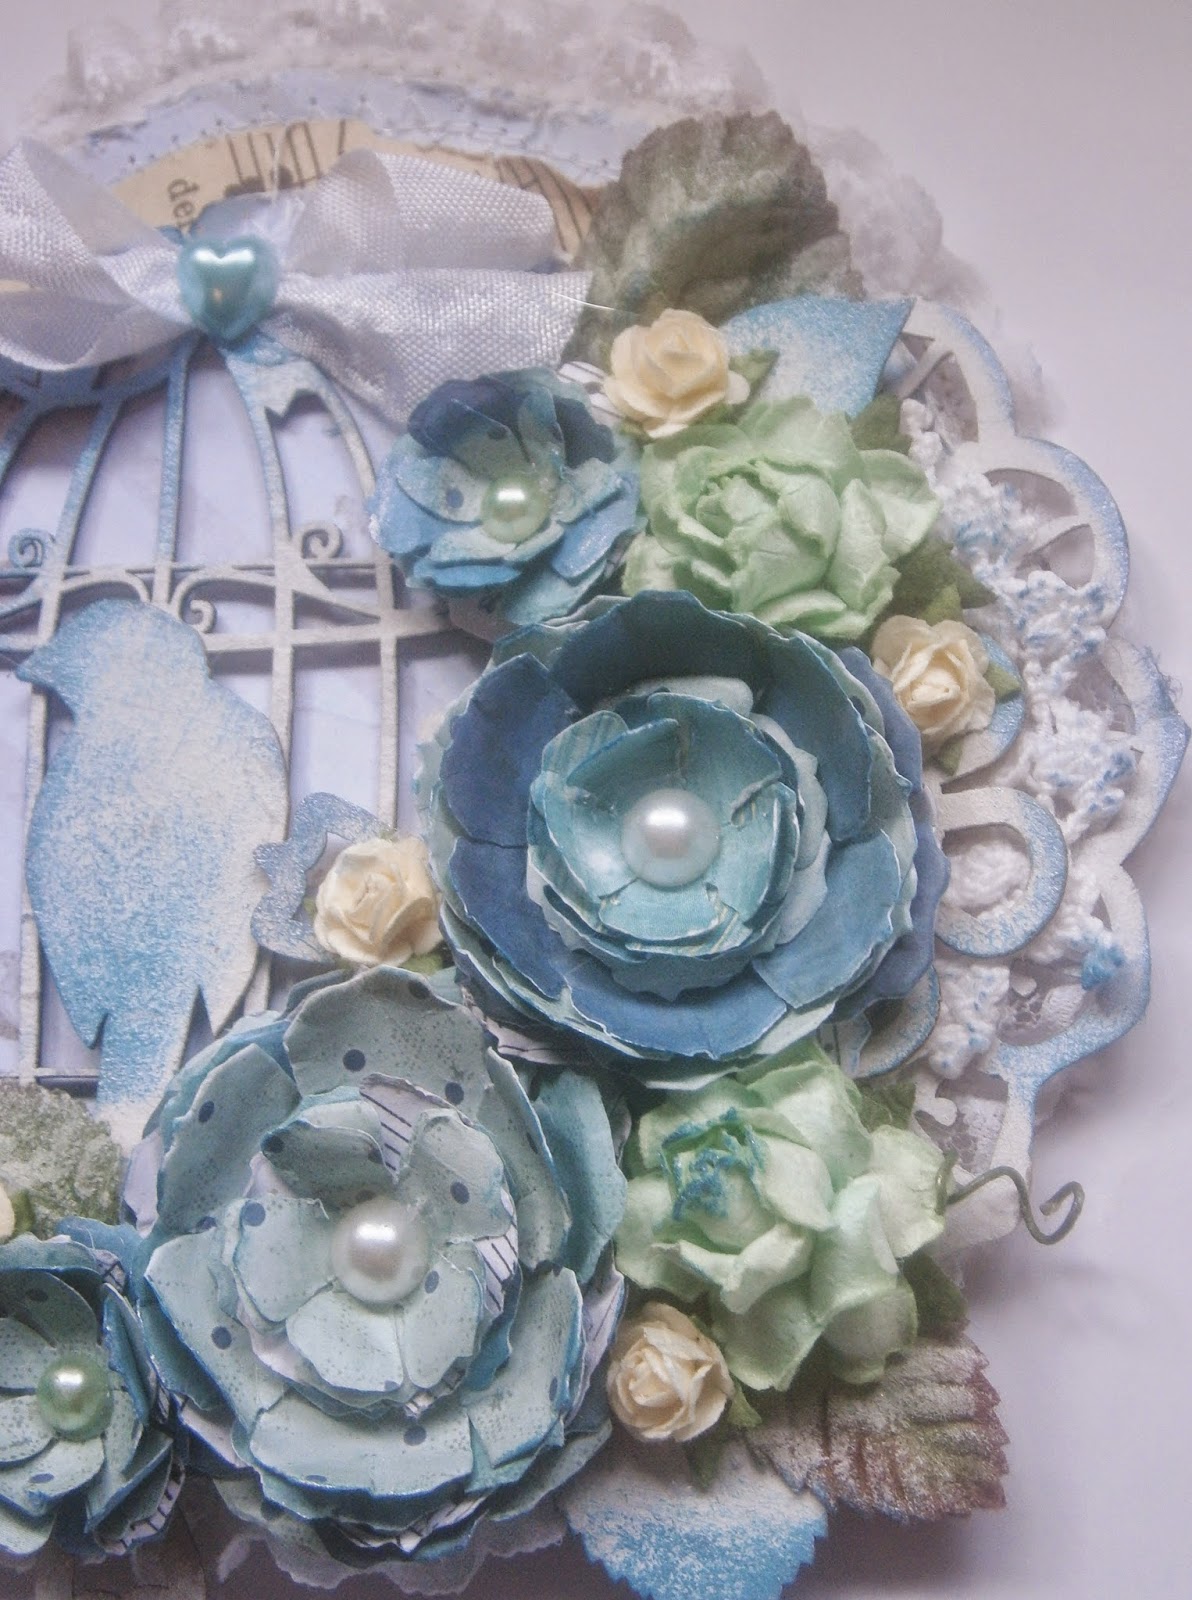
I have made this cover a little "girly" with the colours and the flowers and the bling.  I have 
used words and pieces that represent different stages in my life and I think it will make a great art journal for me to journal in.

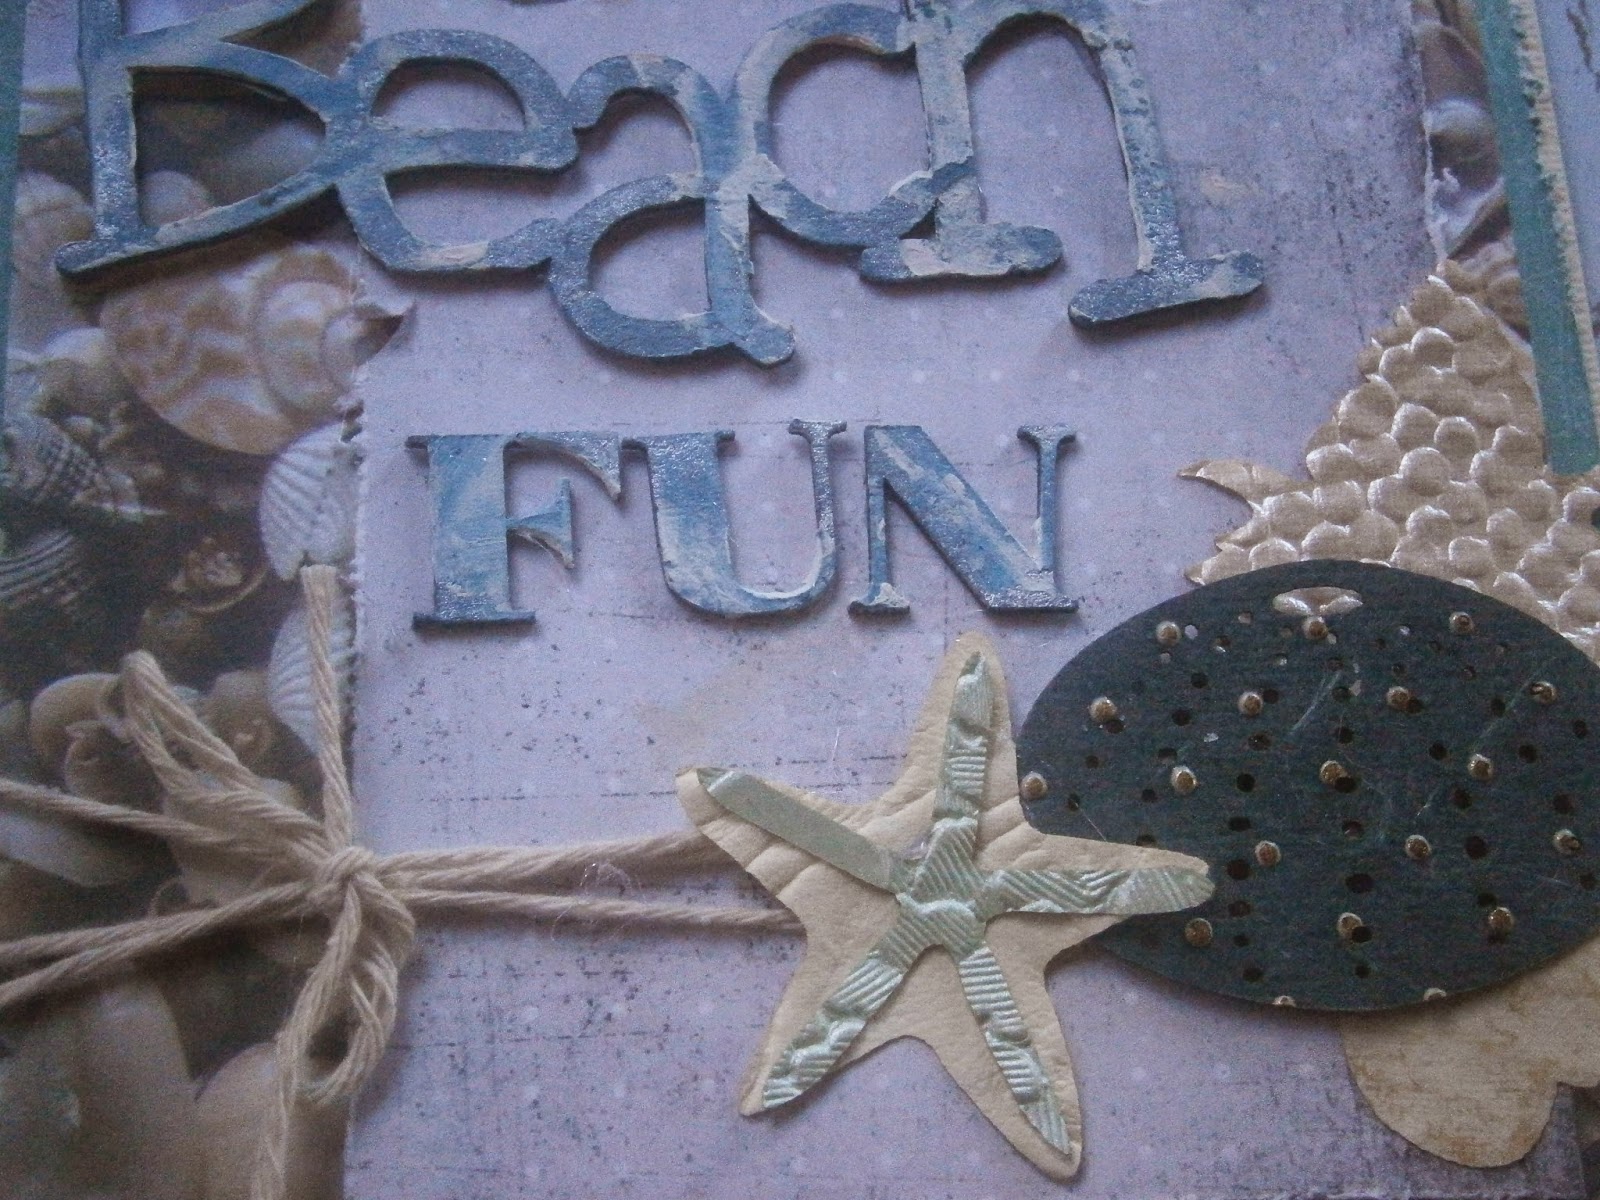
The chipboard I have used in this piece is shown and listed below along with  a link to the Imagine If website.


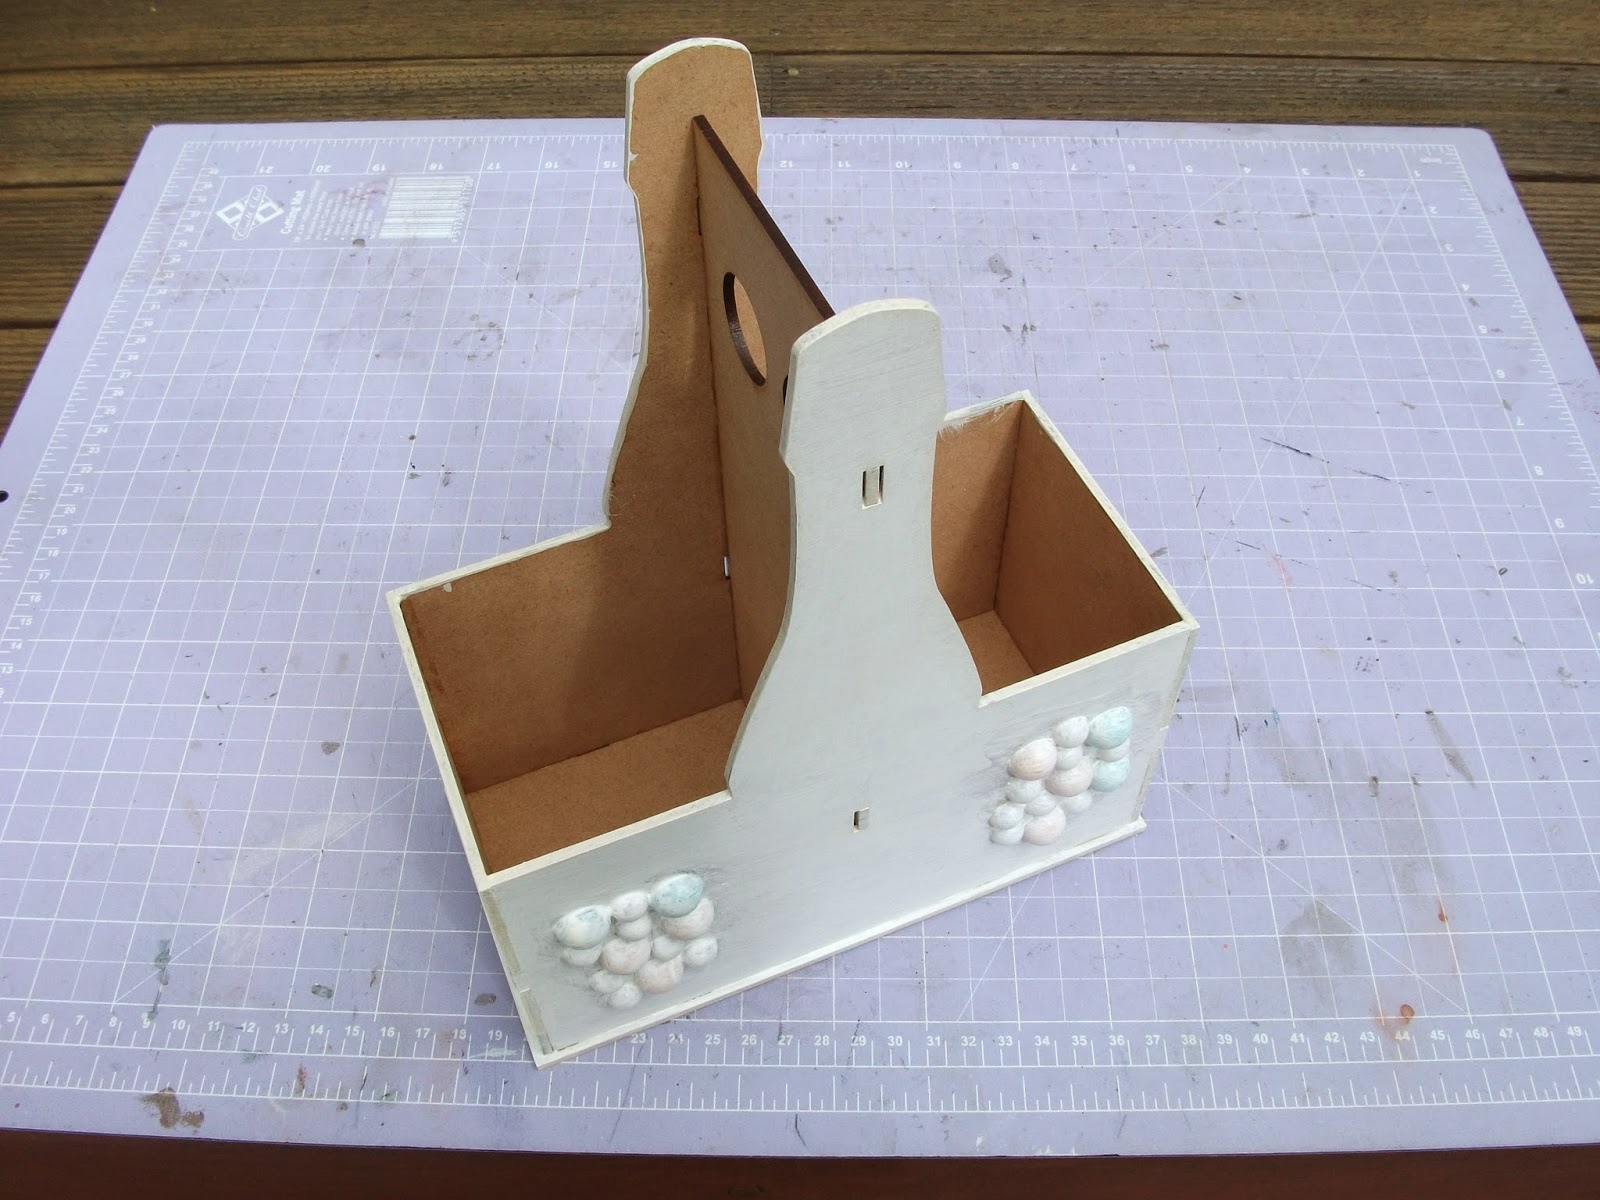
I took an old book that I brought at a garage sale for .50 cents and covered it with white gesso. 


Once the first coat of gesso had dried I used gesso through two of the Imagine If stencils, the bubbles stencil and the chevron stencil to give the cover more texture. I also added in some pieces of book pages.


I gave the cover another light coat of gesso and then I painted all of the chipboard pieces with white gesso and glued them on the cover adding a few paper flowers here and there for interest.


Once the gesso had dried I went to town with the sprays. I used Adirondack sprays and homemade shimmer sprays in tones of pink and purple.


When I was happy with the base colour I used my Viva Inka Gold paints to highlight areas of the journal cover.  (I must say I love these paints).   I also drybrushed some of the areas with white paint to give some contrast.   Then I added the bling and flowers.  I used glitter and glossy accents on the skirt and I used micro beads on the wings.  The quotes which I thought were really appropriate and worked well with the theme of the journal are also from 
Imagine If  - Seasons in Time quote sheet.


To finish the whole thing off I added clear page pebbles and it was done.  The whole project from start to finish probably only took about 3-4 hours and this is the beauty of using the chipboard as it makes it so easy to assemble elements and pull the whole page together.  


Until next week happy crafting and don't forget to check out the wonderful products on the Imagine If website.

Friday, February 27, 2015

Mini Layout - Tasha


Hey there Crafters.
This week I wanted to show you this mini ...hmmm I suppose you would call it a layout.  I haven't decided yet if I am going to attach some ribbon on the top and make it a cute wall hanging or mount it on to a journal cover.


For this project I used heaps of laser cuts from Imagine if....
I painted them all white.
Above you can see..I have used part of a chipboard frame, some leaves,  some chipboard flowers.
The roses I also got from Imagine if...and the little leaves also.  I brushed some gesso with my finger over to tone the colour down a bit...now they blend in perfectly.
 
 
More chip board pieces on this side layered and tucked in.  I love how the chipboard pieces give dimension and interest to this creation.
 
 
I love this bird cage and bird in the middle.  After I had stuck everything down I thought it needed a little colour on the chipboard pieces so I just ran some ink over all the chip board pieces.  It caught the edges of the chip board pieces and really makes them stand out.
I have been enjoying working with these laser cuts.  Hope you get inspired and try some of these fun projects for yourself.
 
Don't forget to go check out all the ladies from Imagine if...and their amazing creations. 
Click on any highlighted words to take you directly to the Imagine if...website.
Or click HERE to go there now.
 
 
Happy crafting

Wine Gift Box - Brenda

For todays Imagine if . .  DT project Jo has given me a MDF Wine Box to construct and decorate.  All the DT ladies were given different MDF projects to complete, so take a trip via the links at the Imagine if . .  blog to check these all out.


 Here is the start of the puzzle, but very easy to put together.


All glued together and ready for decoration


After I attached some 'bunches of grapes' (flatback pearls) the exterior was primed with a good coat of gesso


Tissue paper prepped and ready to attach 


Then the real fun began, attaching all the bits of tissue, which was mod podged in the appropriate places. 

Next I created bottles to attach up the middle.  I made these out of light cardboard firstly, then attached, so to have clearly defined edges.  The whole inside has been lined with burlap.
Enjoy these closeups of the finished project.


Imagine if . . product used are:  MDF wine holder
                                                   Quote sheet - Seasons in Time
                                                   felt leaves - spring set

Wednesday, February 25, 2015

Katrina's Armoire

Hello, and welcome back to my blog, this week I have a post for Imagine If, when I opened my parcel of goodies from Jo I was really happy to see the little Armoire (wardrobe) the first thing I thought of was flowers and lace but as you can see I changed my mind!
I wanted to make my Armoire into an old rusted top secret army box.


I've painted it army green by mixing paint until I liked the colour, then I have used a stencil to write 'top secret'  'keep out' and so on, then using a palate knife I have put Viva ferro paint in copper, once that dried I then applied watered down black acrylic paint and wiped some off just so it 'dirtied' my rust.


On the inside I have a photo of my son wearing an army helmet that I have poped into a piece of chipboard film strip. 


Hope you have my little Armoire (wardrobe) and have a go at making one for yourself.
happy Craftin 
Katrina

Custom Made Words By Imagine If


Hi, I decided to take part in Ali Edwards 2015 one little word challenge,
my word is BUILD, I created a vision board so I can look at
my word when ever I sit at my craft desk.
My canvas is 18inch x 18inch . so I asked Jo from Imagine If
if she could cut the word BUILD large and in a script font.
Here is the finished item. I love this and wanted to share
so you can see what you can do with a different size or design
of your own
So I started with a canvas covered with primer. I then collected
so old and a couple of new magazines and proceeded to cut
out what ever called out to me.


Being able to get custom words done is GREAT when doing
your family heritage albums


I love this, it reminds me to focus on building a life of health,
happiness and love .
So remember you don't have to follow the crowd you can do
your own thing, just contact Jo at Imagine If  easy as that.
Below are a few of some others I had cut by Imagine If also


Thanks for taking the time to visit the blog today.  
Have a fabulous day
Carol

Tuesday, February 24, 2015

Summer fun - Brenda

As soon as I saw this photo on Facebook I just knew I had to make a summery page using it, so thanks Sarah for sharing it with us.  This was also a great chance to use other summery supplies, both paper and Imagine if . .  goodies.


Gotta love the paper from the new Kaisercraft 'Sandy Toes' collection, which was distressed to the max, then I used some modelling paste thru a stencil before spritzing with 2 different blue coloured Lindys Stamp Gang sprays.  Corrugated card was distressed, as was this gorgeous photo.   I left the chipboard title raw as the colours match well.  Muslim & felt flowers soften this area. 


Flowers from BoBunny and Prima compliment this new 'wispy burlap flower' I've just learnt to make.  Take this link here to see the easy tutorial I followed.


Prima bling, buttons and this lovely Imagine if . .  quote finish the page nicely.
Thanks for visiting, I hope this leaves you with the warm fuzzies.

Imagine if products used:  circle stencil
                                           spring leaves
                                           Seasons in Time Quote sheet
                                           Adventure


Monday, February 23, 2015

More layouts from Beth


Happy Monday everyone, Beth here again with a couple of layouts for you – I’m on a roll!

Our local heritage park has small working steam trains that are open for rides. I enjoyed a ride with a friend and her daughter, and the Small Cogs Set from Imagine If… were a perfect match with the BoBunny Grease Monkey papers which suited these pictures.


The cogs were painted with Brushed Pewter Distress Paint (so easy with a dauber on the top), and I added journaling using my Dymo, and the ticket from the trip.

The second layout I have is quite a simple one, using a picture of my cat Zach that always makes me smile.


I covered the Imagine If... chipboard letters with black cardstock that matched the black cardstock layered behind the photo, then mounted them on the same grey cardstock that mats the photo, added some kitty paw prints ribbon and some buttons. I love this layout, and I feel it compliments the photo.

I hope you've seen something to be inspired by here!

Till next time, Beth


Saturday, February 21, 2015

Cards

It's that time again crafters!!
Time to show you a couple of things I have created using supplies from Imagine if....
 
This week I needed to make some card so I got out my shoe box filled with Imagine if... goodies and got to work.  You will see I have achieved 3 very different looks using chipboard die cuts from Imagine if..
 
This first one is my favourite.
 
 
The first thing I did was distress and layer up some papers.  I find it hard not to add lace to everything so next the lace went on.
 
For the frame I just added some texture by using my hot glue gun.  I recommend painting over with paint and then using something like rub n buff to highlight the raised edges.  I just inked over mine and the glue resisted the ink...bit of a rookie move but I was still ok with the look.
 
 
I love how these die cut flowers and felt flowers add dimension to the card.  The chip board leaves I inked up with the same colour as the frame.
 
 
I felt the card needed something in the corner and so I added a felt moth and the we go one card down.
 
 
Above you can see I have a beachy theme going on.
I painted up the words with some blue acrylic paint and with my finger just brushed over the words with gesso.
 
I tied some string around the layered papers and then adhered some of these awesome laser cut sea shell embellishments.


 Lastly I have this fun birthday card for a special little girl.
I inked up the horse in rainbow colours.
 
 
 You can see here in the corners I have coloured up stars and adhered them as well as some felt die cuts.
 

I also added some sequins and stickles to add some sparkle...all girls young and old love sparkle :)
 
You can see the glittery glossy accents I put on the horse ran off the edge and kind of looks like it's poo'ing glitter lol so be sure to do that before you stick your embellishments on!!  Lesson learnt.
 
So there you go guys 3 very different looks using laser cut embellishment :)
 

Click on any of the links to be taken to the Imagine if... website.
Or click HERE to go there now.
 
Happy crafting
Tasha