Saturday, April 19, 2014

Stepping out .... In my "Imagine If" Boots

This is another Imagine If boot, it can be used for many different things, its
heaps of fun to play with.


You start of with the above pieces . Now my first thought was to make a book out of it but opted to use one half of the shoe only


I went for a fictional boot with mechanical wings just
for fun

Firstly I covered the boot with paper just down to the foot.
The foot piece I painted black. And added die cut cogs and attached with brads,
 I added the pink and black trim down the front of the boot and put eyelets in to thread my laces through.


 Added some black fluffy feathers to the top of the boot and also
just in front of the die cut wings . Added a few extra bits here and there
and it was done .... walla :)

Thanks for visiting
Imagine If is releasing new cool stuff all the time, so keep an eye on
my blog for other new and cool stuff from Jo at
Imagine If and Fix Design


Thursday, April 17, 2014

How Does My Garden Grow?

Just as a change from the shoes that Jo gave us to play with I thought I would do something with her felt flowers.  Now I can honestly say that I was not moved by felt flowers.  I would look at them and think what gorgeous colours and then pass them by not really knowing what I would do with them.  However it seems that when a project is due and I am least expecting it creativity strikes and I find myself getting excited about felt flowers.  So I had this vision of a torso rising up from a field of flowers and the project shown below is that vision realised.  How did I do? 


Firstly I layered up the felt flowers.  Once I was happy with the way they looked I glued them together.  I then covered them with fabric stiffener (white glue and water would work as well) and moulded them into shape.  Once they were dry I threaded thin plastic up through the center, added a bead and then threaded the plastic down the other side.  I used very fine strips of plastic because I wanted the illusion of movement when I had the finished project together.  I made lots of flowers because I really wanted to fill the base with them and give the impression of a vibrant garden.


So here is the process for the torso.  Firstly I made a small torso out of a toilet roll and covered it with newspaper.


Using white glue watered down with water I glued a serviette onto a piece of baby muslin.  While it was still wet I draped it around the torso.


I glued several bamboo skewers together and glued them inside the torso to give me a way to stand the torso.  I had some butterfly wings die cut (Spellbinder "Wings") from an old calendar that I was going to attach to the torso, but I just felt that it needed something more, so I used fabric stiffener on a crochet doily and moulded them to make wings which I glued to the torso.  I then glued the die cut butterfly wings in front of the doily. Once the wings were attached I then decorated the torso using Imagine If flowers, leaves, insect buttons and Imagine If/Fix Design butterflies and a gecko.


For the base I used a recycled condensed milk tin.  I undercoated it with metal primer then when it was dry I painted the whole tin with white gesso. While the gesso was wet I put white tissue into the paint and then covered the whole thing again with white gesso.  This gives the tin a great texture.  Once this layer had dried I used gel medium to attach Imagine If/Fix Design felt stencil flowers.  Once the gel medium had dried I covered the whole thing again with white gesso.


I also added a few hexagons that were the offcuts from a Cheery Lynn chicken wire die.
After the paint dried I painted the whole thing with blue acrylic paint.  While the paint was still wet I wiped most of it off with a damp cloth.


To steady the tin and stop it from tipping I put in a couple of layers of glass marbles into the bottom of the tim.  I then put in three layers of polystyrene which I painted brown.  I then began to build up the piece by sticking the torso into the polystyrene and began adding the flowers and the butterfly.  To finish it all off I painted two metal dragonflies with black paint, wiped most of it off then glued them to the front of the tin. I added a row of jewels around the bust and waistline to define the torso.   Once again here is the finished project.


I really enjoyed making this project and I am a convert to the felt flowers.  Thanks for looking please remember to leave comments or questions and I will reply as quickly as possible.  Also go and check out the fabulous flowers on offer at Imagine If/Fix Design NZ and start creating your own gardens.  I will also be posting this project on my own blog.  nysbiz.blogspot.co.nz  I hope you will pop over and check out this and my other projects.

Materials used in this project.
Imagine If/Fix Design NZ Felt Flower Packs Shape paces 2-6
Imagine If/Fix Design NZ Felt Stencil Flowers
Imagine If/Fix Design NZ  Butterflies
Imagine If/Fix Design NZ Geckos
Insect buttons
Silk Leaves
Small white and pink beads
Recycled tin
Tissue paper
Metal dragonflies
Glass marbles
Recycled polystyrene
Toilet paper roll
Serviette
Baby muslin
White glue/Fabric stiffener/Gel medium
White gesso
Blue and brown acrylic paint
Crochet doily
Spellbinder Wings Die
Bamboo skewers
Plastic for flower stems

Wednesday, April 16, 2014

Easter and the school holidays

Hi all and Happy  Easter
I hope everyone is looking forward to Easter, and all it brings.  For Rick and I, both our girls are home, and respective male partners.  This is a fantastic chance to catch up as Sam is away at Auckland University, and Aly is pretty busy with all she does.  They haven't asked for a boycott on chocolate, so that is a good sign, Mum can be a bit naughty.  

I have had a very eventful couple of weeks, with the business and designing and packaging, and pricing of course.  Things have been going along so well, I am pleased to say we nearly have another 50 products to go on line very soon.  I think I have created a monster though, my husband is totally into making 3d projects, and wait till you see what he has created. They will be released next month, and I am very very pleased with our progress, and our designs.

The design team has been releasing all their shoes projects on face book, and I have put a sample of them on here for you, but please go and check them out, there are some very cool projects.


http://imagineifnz.blogspot.co.nz/

We have managed to get some chipboard designs up on the website
http://www.imagineif.co.nz/chipboard-designs


Senz: things are going well, classes get announced at the end of May I think, I have three classes booked in, and two are layouts, and the 3rd is an off the page project.  .

Bus for Senz: We have decided to cut off bookings for the Bus to Senz on the 30th April, this is to be able to confirm our bus size, if you want a seat, please get in quick.  $40.00 for your ride to and from Auckland, you will still need to buy a entry ticket.

Classes:
Children's Classes for the holidays:
23rd April Scrap booking class $20.00 for 3 pages 10am -1pm.


30th April 10am - 1pm, A canvas with an underwater theme $20.00, with brand new release mermaids, sea horses, fish, and treasure.  If you have a son who wants to do this, I can switch the mermaid for a boat, We will be painting, learning mixed media techniques, and having heaps of fun.  You will need to bring a canvas, size to be advised upon booking.  I would prefer parents to be there with your child if he/she is under 10.


En-caustic class has been postponed.

Adults Classes:

Saturday 3rd May - Scrap booking project. 
At Paperzone in Hamilton 10am, a concertina layout, a great project to hold lots of photos.  Contact them for more details.

Friday 9th May Mothers day cards $15.00
We have done a quick switch around, as I forgot Mothers day.  Marilyn has made two outstanding cards for a special lady/ladies in your life.


Friday May 30th Memory Box $35.00
Make a box to put all your treasures in, made from MDF.  You can choose your own colours, we will supply the box, embellishments, and words.  

June 13th  Children's cards $20.00
Make 3 cards for those little ones in your life.

So email me or phone me on 07 8873901 if you have any questions, leave me a message on the phone if I am out and about or working with my head down.

4th July - Senz 1 class,
5th July - Senz Class
6th July - Senz 1 class


So email me or phone me on 07 8873901 if you have any questions, leave me a message on the phone if I am out and about or working upstairs.


all the best Jo
 

Tuesday, April 15, 2014

Evolution

Today I'd like to share my 2nd DT project with you.  I am really outside my comfort zone with this one, but when I saw all the goodies Jo had sent me this idea immediately sprung to mind.  Jo had asked us to use the 2nd of her gorgeous shoes in this 2nd project, so it was a no-brainer to include lots more of her awesome goodies.

I started with the awesome 'puzzle' shoe, which I painted firstly, then attached lace fabric, pearls & trim.  The red was embossed to give it a stunning glossy finish. 


But then what to do with it??  I found all these goodies and got to work.


Included in my DT parcel were this 'Tree of Life', monkeys, mini boots & letters and because I already had the little foot & jandal dies the ideas flowed quickly. 
Firstly I gesso'd the 24" x 12" canvas, then created a landscape with tissue, fabric, muslin & cardboard, before it got yet another coat of gesso.


After all the 'hills' had been painted it was time to have fun and attach everything.  The trunk of the tree was given a coat of model paste to give it a bit more texture, then painted. The monkey's were then hung in the tree after they had been painted then flocked.  Next the feet & jandals were painted & attached.  The mini boots were painted black, then finished with a coat of black crackle paint (they look awesome up close).


I love how the red really pops on the page against the green.  I love this canvas, and I stepped out of my comfort zone with this one, but I am so glad it definitely shows off just a few of the awesome laser cut products that can be purchased from Imagine If.

I hope you're loving all these fantastic projects shown by the other girls as well.  Until next time, thanks for visiting and have a happy, scrappy day.

Brenda

Monday, April 14, 2014

Using the shoe to make a mini album - lilian

Hi everyone :) this is my second DT project for Imagineif


Okay, I knew I had to use the Kaisercraft Violet Crush for this project, it's just so beautiful and I love butterflies!

The boot is another awesome laser cut design from Imagine If...
I traced and cut out a few more to create pages for my mini and covered each one with the gorgeous papers.
The cover boot is dimensional so is very thick...Perfect for the cover! I punched holes and laced with a ribbon. I just love Tim Holtz distress inks and have used on all the edges!
I've covered the heel of the boots with a black lace for texture.
Working on all the layouts and embellishments page by page using the Violet Crush paper collection, leaf trims, butterflies!
The sentiment "Happy thoughts and butterflies" from Imagine If
I have used a Filigree butterfly from Imagine If..., added purple stickles then a metal butterfly on top for some dimension.
I used some leafy flourishes cut to fit throughout!

Saturday, April 12, 2014

Red Rose Shoe by Tash

Hey there.
Hope everybody is having a great week.  I just want to show you another Design Team Project for Imagine if.... It's another laser cut shoe that came in several pieces, which you can paint, emboss, cover with designer papers, or anything else your creative heart desires to create the look you want.


The main part of the shoe I painted with some black acrylic.  The red pieces you can see I used some Lindys spray and painted it on with a brush...so what you can't see is all the beautiful shimmer.
From my DT Kit I cut up some of the filigree type frames I was sent and adhered them on...I was trying to achieve the look of vines.  I then painted over them with the Lindys to tone the black down.


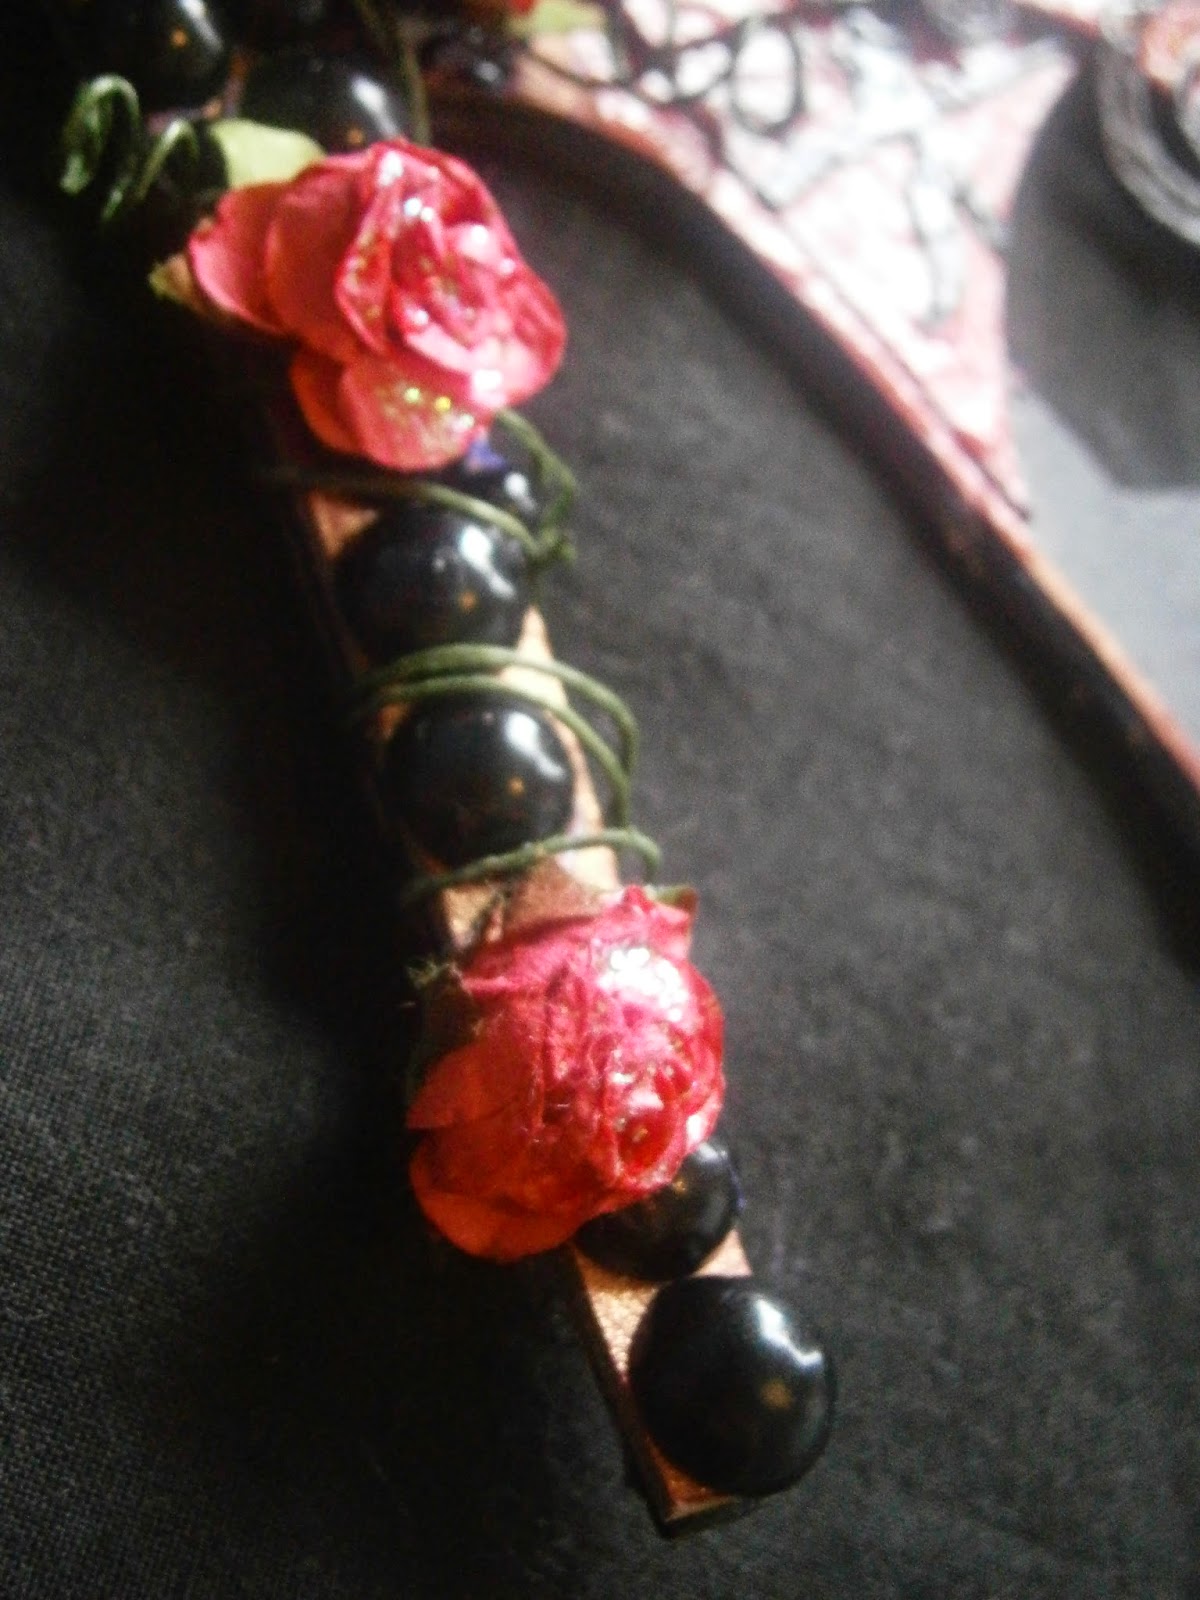
My favourite part of the shoe is the heel.
I adhered some half back pearls and then wrapped the stem of the roses around  I also curled some of them around my paintbrush.


This next picture shows how I have criss crossed some ribbon that I also coloured with the spray as well as the roses so everything would co-ordinate and shimmer...and added more pearls cause I can't resist :)


So there you have another shoe from me both looks totally different, both looks fun to make.
If you have been keeping up with the blogs you will have been seeing all the different styles created by my fellow design team mates such a creative clever bunch.
Click here to see whats going on over at the Imagine If Face Book Page

And to see more of what I get up to please check out these links.
https://www.facebook.com/WithAllMyArtSoul
http://withallmyartandsoul.blogspot.com/
http://www.pinterest.com/tashchanwai/
http://www.youtube.com/user/artsongandsoul

See you soon 
Tasha xx

Friday, April 11, 2014

Katrina's boot

Today I would like to show you my boot! Because I spent so much time doing my shoe mini album, I decided to keep this one simple, I painted my base egg shell white and then used distress crackle paint -rock candy- I used  distress ink vintage photo to make my cracks stand out a bit more, my heel I painted a brown then heat embossed a clear with a little glitter ( a girl needs a little glitter). Then I have kept my embellishments simple and soft with a crochet doily and felt flowers with a quote from Imagine if 'Dreams' quote pages, the quote pages from Imagine if are just wonderful, I always seem to find a quote to go with whatever creation I'm making.

The second half I didn't add to my first shoe, and I was in one of those moods, so I really let go and just played, it has been textured pasted, sprayed with dylusions, randomly stamped I have even spattered a bit of embossing power on it ( purple splotches), the shoe stood up to everything I threw at it and I hope to use it on a scrap page latter on in the month. I hope you have enjoyed my second DT creation and have some ideas for you own shoe/boot.
Happy Craftin
Katrina