Thursday, March 19, 2015

Katrina's Mermaid


Hello and welcome, hope you have all being getting plenty of crafty time, this week I grabbed a piece of ply and made a wall hanging using the beautiful mermaid/people chipboard from Imagine If, you can chose if you want legs or a tail and your legs and arms can be whole or in two pieces, I'm in love! I had soooooo much fun making this but it did test my patience, I'm not one to let things dry naturally but for this I had to, and did you know its takes 24 hours for thick modeling paste to dry!               


Happy craftin
Katrina

Wednesday, March 18, 2015

Key to my heart


This week I made a anniversary card for my husband
The heart is is embossed and painted with metallic pearl paint
then I went over the top and picked up the swirls with a soft red ink .


This butterfly is awesome, I just love it. I painted this white,
I then put glue on the wings but stopped  before the center (body )
part, I then covered it with Tim Holts distressed glitter, the sparkle
is amazing. The center or body of the butterfly I covered with
a darker colour .


Here you can see a close up of the embossing in the heart and also
in the key hole which I painted gold.
The rose has a little bit of sparkle to .You can find loads of
fantastic chip board items at Imagine If  Also
cheack out there blog HERE and the new competition.


Thanks for visiting 

Tuesday, March 17, 2015

New competition announced.

Hi all,

Well another week has come and gone, and one of my friends had the cheek to put up a post of how many days till Christmas, she is lucky there is a not a dislike button on facebook.

The design team has just about come to the end of their term, and I wanted to let you know what was happening.  With the shop workload getting bigger and bigger we have decided that the design team is just so much work, that I cannot continue to run it, it it's current format.  I have decided instead to run a monthly competition with prizes.   I see so many talented ladies come and see me or email me and I have decided that it is time we got to see what everyone is working on.

We don't have to many rules, except you must follow the brief... and it will be a brief brief.  It can be scrapbooking, art, mixed media, off the page, cards or albums or ? Surprise us.

There is only one thing that we ask, as we are a manufacturer of chipboard, MDF and stencil products if you are going to use those products, they need to be from our range please.  Other than that, no other rules.  However if someone enters something inappropriate we reserve the right not to publish it.   Easy..

So we will be starting the competition in April, and seeing as it is that time of the year, I have picked Autumn as the theme.  Now this is a wide theme, autumn the colours, autumn leaves, autumn ?

Email your entries to imagineif@xtra.co.nz and we will put you into the competition.

  Lilian's creation My book
My page
Ngaere's mask

so hopefully this has given you some ideas.  So get creating, See what you can come up with.  The prize will be selected by a team of 4 judges.

This months prize...$30.00 worth of product, including new releases, and some imagine if goodies.

Also while on the subject of competitions, if you are on the Senz website you will have heard about the Anzac Gallipoli competition that will be held this year at Senz.  You can drop your entry into the shop and we will take it up for you.  There are a few different categories, so check it out here.

http://www.senz.co.nz/Creating-for-Gallipoli-Competition/

Oh and I know there are sneak peaks happening soon on classes that will be run up there.

Finally we have added a castle book to our MDF designs

check it out here:
http://www.imagineif.co.nz/imagine-if...mdf-3d-projects/

Glitter pastes
Finally I am so very happy to bring you an awesome product, one that if you like adding a bit of glitter to something, but hate waiting for it to dry, this is the product for you.  I love this stuff, I purchased another brand 3 years ago and I have been waiting patiently to get some more.  This glitter dries almost instantly with a heat gun or a hair dryer, which suits little miss impatience that I am.  Personally for me product of the year, maybe even decade. Come sin so many amazing colours.  Check it out here:
http://www.imagineif.co.nz/cremes-pastes-rubs/ 


Class list will be updated next week.  With more new products and the school holiday program will be out.

Happy crafting and get working on that your competition entries.
All the best Jo

Saturday, March 14, 2015

Katrina's Tag


Hello, today I have one of Imagine If chipboard tags that I have filled with chipboard cogs, an arrow and a piece of chicken wire then I have sprayed lots of yummy colour, on top I have colored a heart and sprinkled a little Finnabair love on top ( Mica Flakes) and used two different amazing alphabets from Imagine If which I've colored with  Lindy s stamp gang embossing powder which  is a new love for me, I've always loved the magic of embossing powders but the colors of Lindy s is amazing! Then hanging on the bottom of my tag is Imagine If's new keys and locks, which I've embossed with metal color embossing powder and a coat of UTEE'S which has given them life, They look so real, its amazing!


Happy Craftin
Katrina

Friday, March 13, 2015

Exploring Texture - Ngaere

I have always loved projects that have a lot of texture on them and over the past few weeks I have been exploring different ways of getting more texture into my projects using the chipboard pieces from Imagine If. I thought that I had explored it enough but there was still another project in me so I decided to make a mask as a change of pace.  Here is the finished piece.


And here is the process.

Take one blank mask and some chipboard peices, in this case wings, keys and padlocks from the new range at Imagine If.  Rip a few holes int he mask then paint everything with black gesso.


Once the gesso is dry add some mesh tape and some masking tape over the mask in places.  At this point the mask looks more like an accident victim than a piece of art.


Glue some diecut gears on the inside of the tears in the mask, then glue tissue paper over the back side of the gears.


Add more gear diecuts  (Memory Box) over the front of the mask. It doesn't matter what colour card you use as it will all be painted black. I also added strips of black card to make it look like steel plates. the rivets are circles punched out black card and added after the paper strips were glued down.  


Then because I wanted more texture I added pieces of chicken wire diecut (Cheery Lynn)
over what I had already added to the mask.


It looks pretty rough at this stage but it will get there in the end.  I added the teeth from a zipper and I painted everything with black gesso.  I embossed the chipboard and dry brushed it with Viva Inca Copper and Lumiere Pewter and assembled the pieces.  I drybrushed the whole mask with the same paints and added a little Ferro gold.  I then glued on the chipboard pieces and the mask was done.


Hope you enjoyed this project. 

Thursday, March 12, 2015

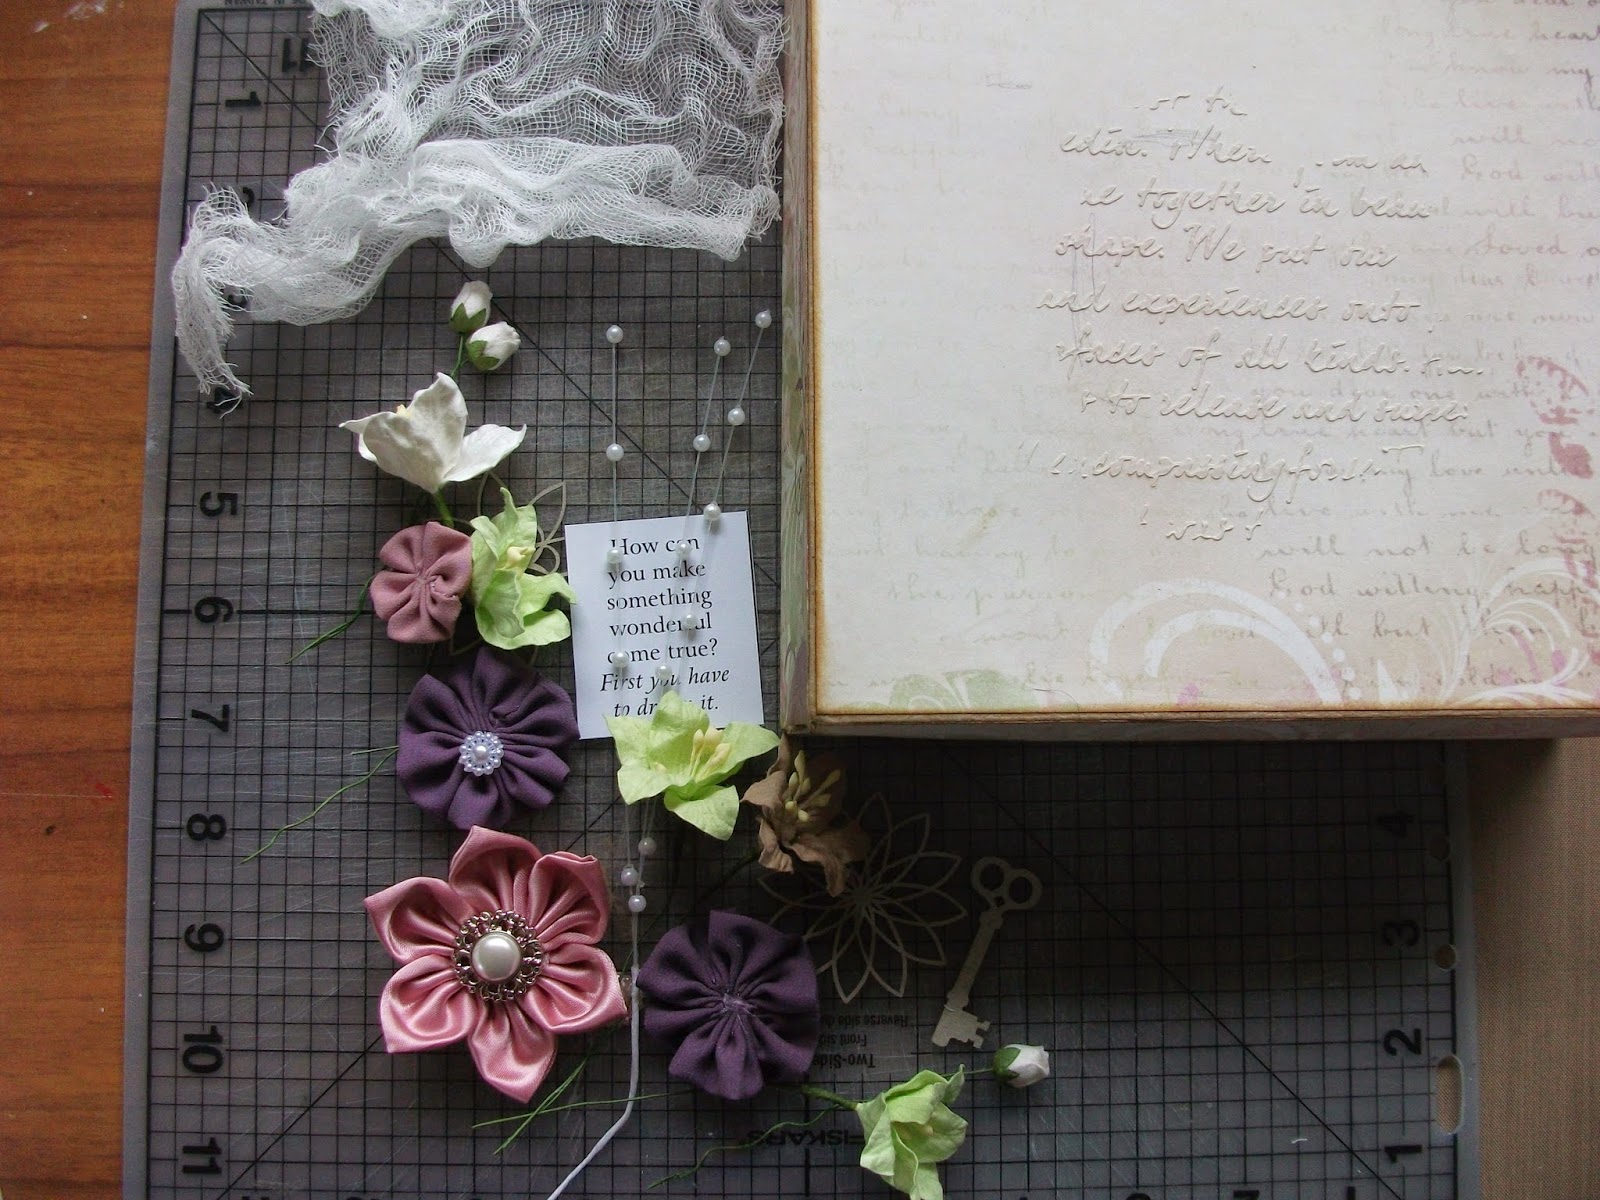
Shabby Chic Box

I've had a lot of fun creating this latest box, which was to be a gift for a friend, but as you would have it I've fallen in love with it myself so . . . .  I'll probably have to keep it for myself.


Here I'm showcasing lots of new pieces from Imagine if . . , and as usual this has finished up TOTALLY different to what I had in my mind at the beginning.

Kaisercraft 'Precious Moments' paper was perfect for the shabby look I wanted, this was inked with TH 'Walnut Stain', before it was attached, then I added a bit of texture with a bit of modelling paste thru stencils.  Here is all the 'bits' before assembly.


The gorgeous arched window frame received a coat of "Grape" paint, then was dry brushed with gesso.  The wings were embossed, then along with the remaining chipboard received various coats of brown & pink paints, then I applied the solution to 'weather' the paint before painting white.  This all then was inked again with TH Walnut stain. 
I've used a mix of handmade and I am Roses flowers along with muslim, leaves & cones to decorate the corner.  An old brooch was touched up with gesso before being added to the top of the arch.

Enjoy these close ups


I am entering this in the I am Roses monthly challenge, with I am Roses products used  lillies, buds & sweet little S10 blooms.

Imagine if . .  products used are  Arched window frame
                                                     keys & locks
                                                     wings
                                                     Quote sheet - Dreams
                                                     open flower

Wednesday, March 11, 2015

Locks and Keys

Hi everyone and welcome back to my "Happy Place"
and another Design Team Project for Imagine if!
This week theme is "keys and Locks" I have decided to have a "Play" with some Mixed Media!


The first thing I did to give myself something to work with
 I made an oversized tag measuring 7" x 4" from some sturdy chipboard and gave the back and front a good coverage of gesso.


Then I using the brick template and some texture paste I added some background interest.
Next was getting to work with some Lindys products spritzing over the front and back of the tag!


The back shows more of the lovely colours and is still pale enough to write a message on for the recipient!
I covered the keys, locks and corner flourish with gesso and using paints and inka gold.
I had seen this verse awhile ago and thought it was perfect for this project and its what inspired this project!
Printed out in brown to match in with the colour tones I inked the edges with my new Tim Holtz Peacock Feathers distress ink! .....love this stuff!

Gathering all the elements together and gluing them down I added a little blue butterfly and some gold eyelash trim.


Using my sharpies I coloured in the corner flourish to make it pop,
 cut the link on the lock to hook it around the vine......finished!


The products from Imagine if I have used are.....